Course Personalization
In this section:
As an instructor, there are multiple ways for you to personalize your Brightspace experience, whether through the use of the instructor widget or the creation of engaging announcements. This page covers some simple steps to take in personalizing your course.
Editing the About the Instructor Widget on the Course Home Page
To start:
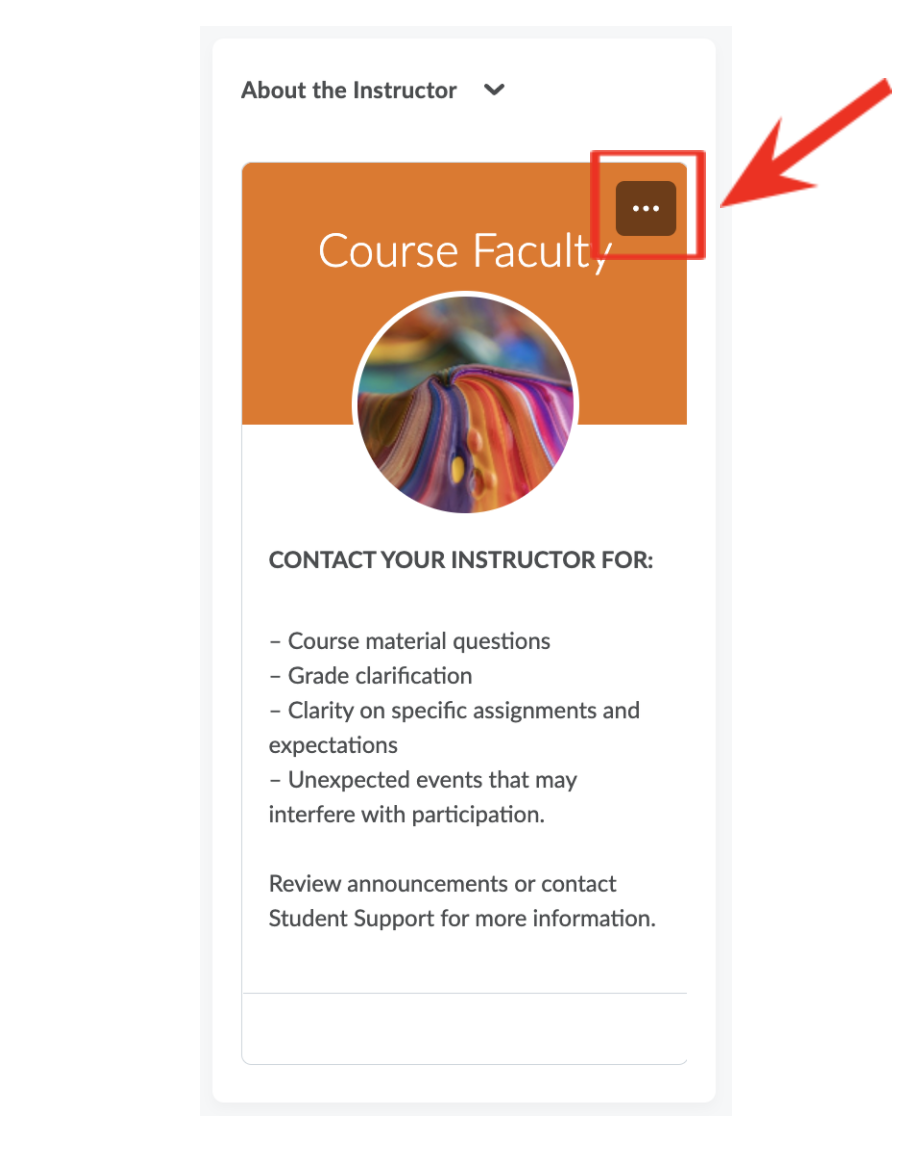
From the Course Home webpage, on the right-hand side below the Course Activity widget, you can edit the About the Instructor widget to personalize the course. In the top right corner, there is a button with three dots that you can click to open the editor.
Add your contact information:
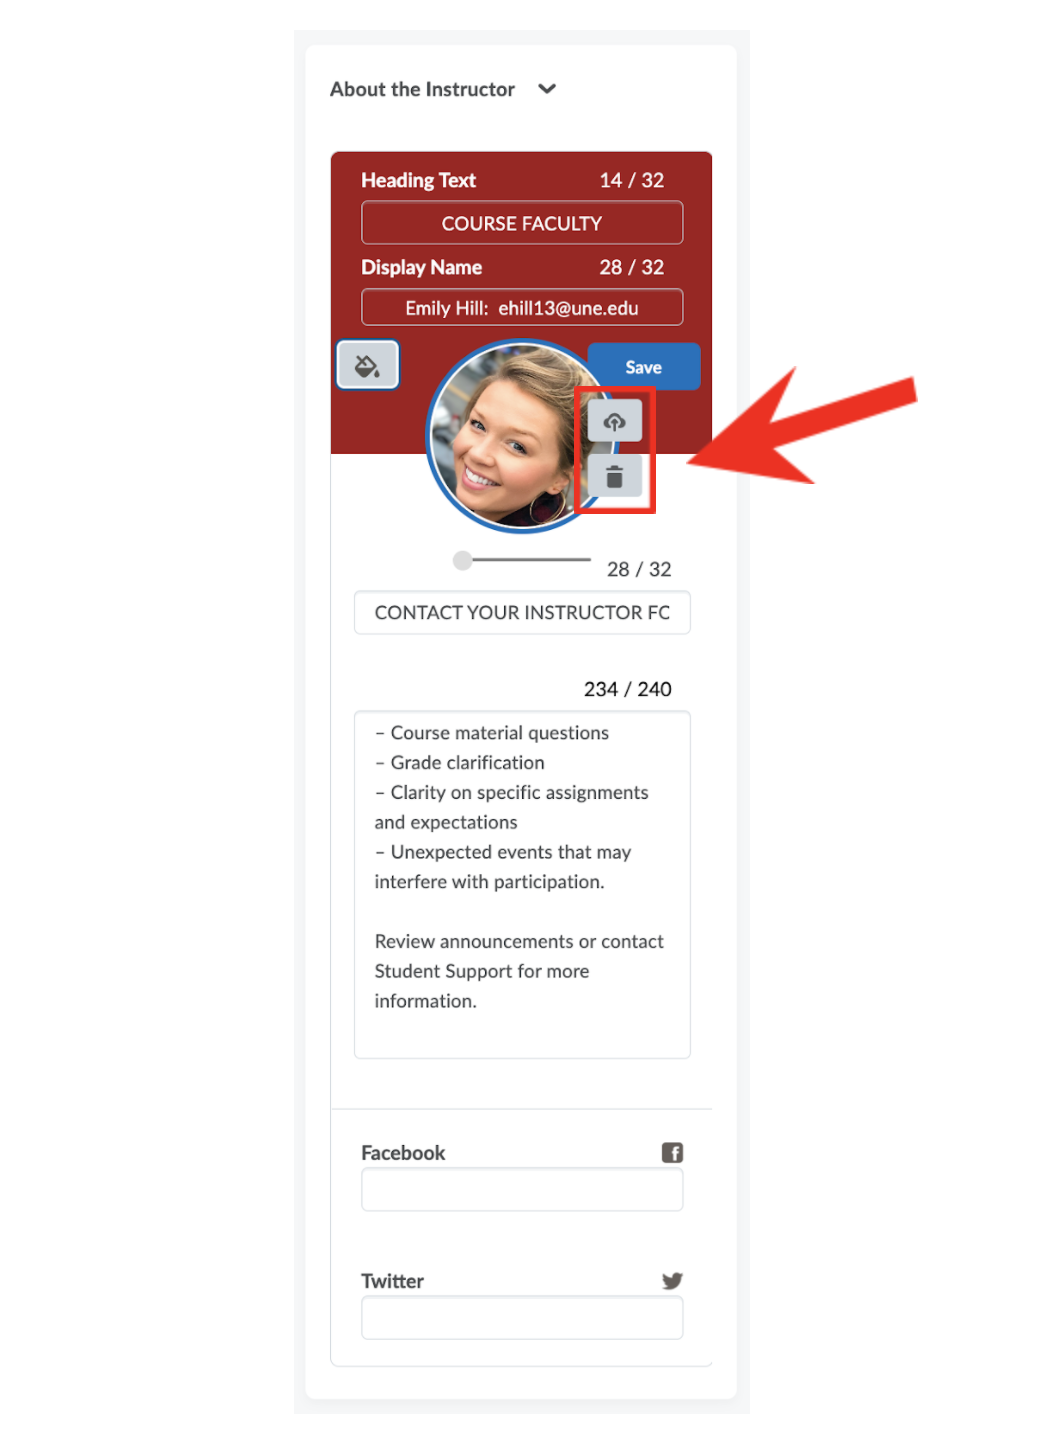
From there, the edit options are layered over the widget.
The arrow below points to the options for uploading and deleting images. Once uploaded, you can adjust the size and position of the photo. Click on the paint can if you’d like to change the header background color.
Don’t forget to click Save when you are finished.
Recommended:
- Since there are only 240 characters permitted in this widget, keep this limited to quick facts and contact information. Feel free to leave the provided contact text as it is and just add in your name and UNE email to the top!
- You can add a longer biography in your announcements or an introductory discussion post.
- Keep the URL for Facebook and Twitter spaces blank to ensure the respective icons will disappear.
Posting Announcements
Announcements are pretty straightforward in Brightspace. You can include text, images, links, and using Video notes, you can record videos directly in Brightspace. You can access them through the Announcements widget on the home page, or the Course Admin link in the navbar.
Posting Announcements Tutorial:
Editing Announcements:
- In this tutorial, you’ll learn how to “insert stuff” and “add quicklinks”
Make Regular Announcements:
You can also personalize your announcements by using replacement strings.
To do this, you can enter curly brackets around given replace strings. One example would be personalizing your announcements to students’ names. Instead of an announcement reading “Hello class”, it could read “Hello {FirstName}”. This would automatically prefill the student’s first name. If you did it correctly, you will see your own name when the announcement is displayed.


