Recording a Presentation
We’ve broken presentation-recording/uploading/sharing into three major steps, which we then break into smaller sub-steps that take into account the variety of hardware/software combinations students may employ for class.
Create your presentation
If you have already recorded your video, skip to Step 2 >>>
There are a number of tools you can use to create a slideshow presentation. You are most likely to have used Microsoft Powerpoint in the past, and it remains one of the best options. However, you can also use the free Google Drive app, Slides, for which you can find a tutorial.
Creating slides for an online, recorded presentation is the same as creating slides for a presentation that you would give in a physical classroom. You will need printed or handwritten notes to refer to while you’re giving the presentation, and you will want to be mindful of any time restrictions laid out in the assignment instructions.
Check out this Better Presentations Guide.
When you’ve created your slides and written out your notes, you’re ready to present and record the presentation.
Recording Screen Using Zoom
Open your Zoom app and sign into your Zoom account from UNE. If you have not already set up Zoom, here are instructions from the UNE IT department.
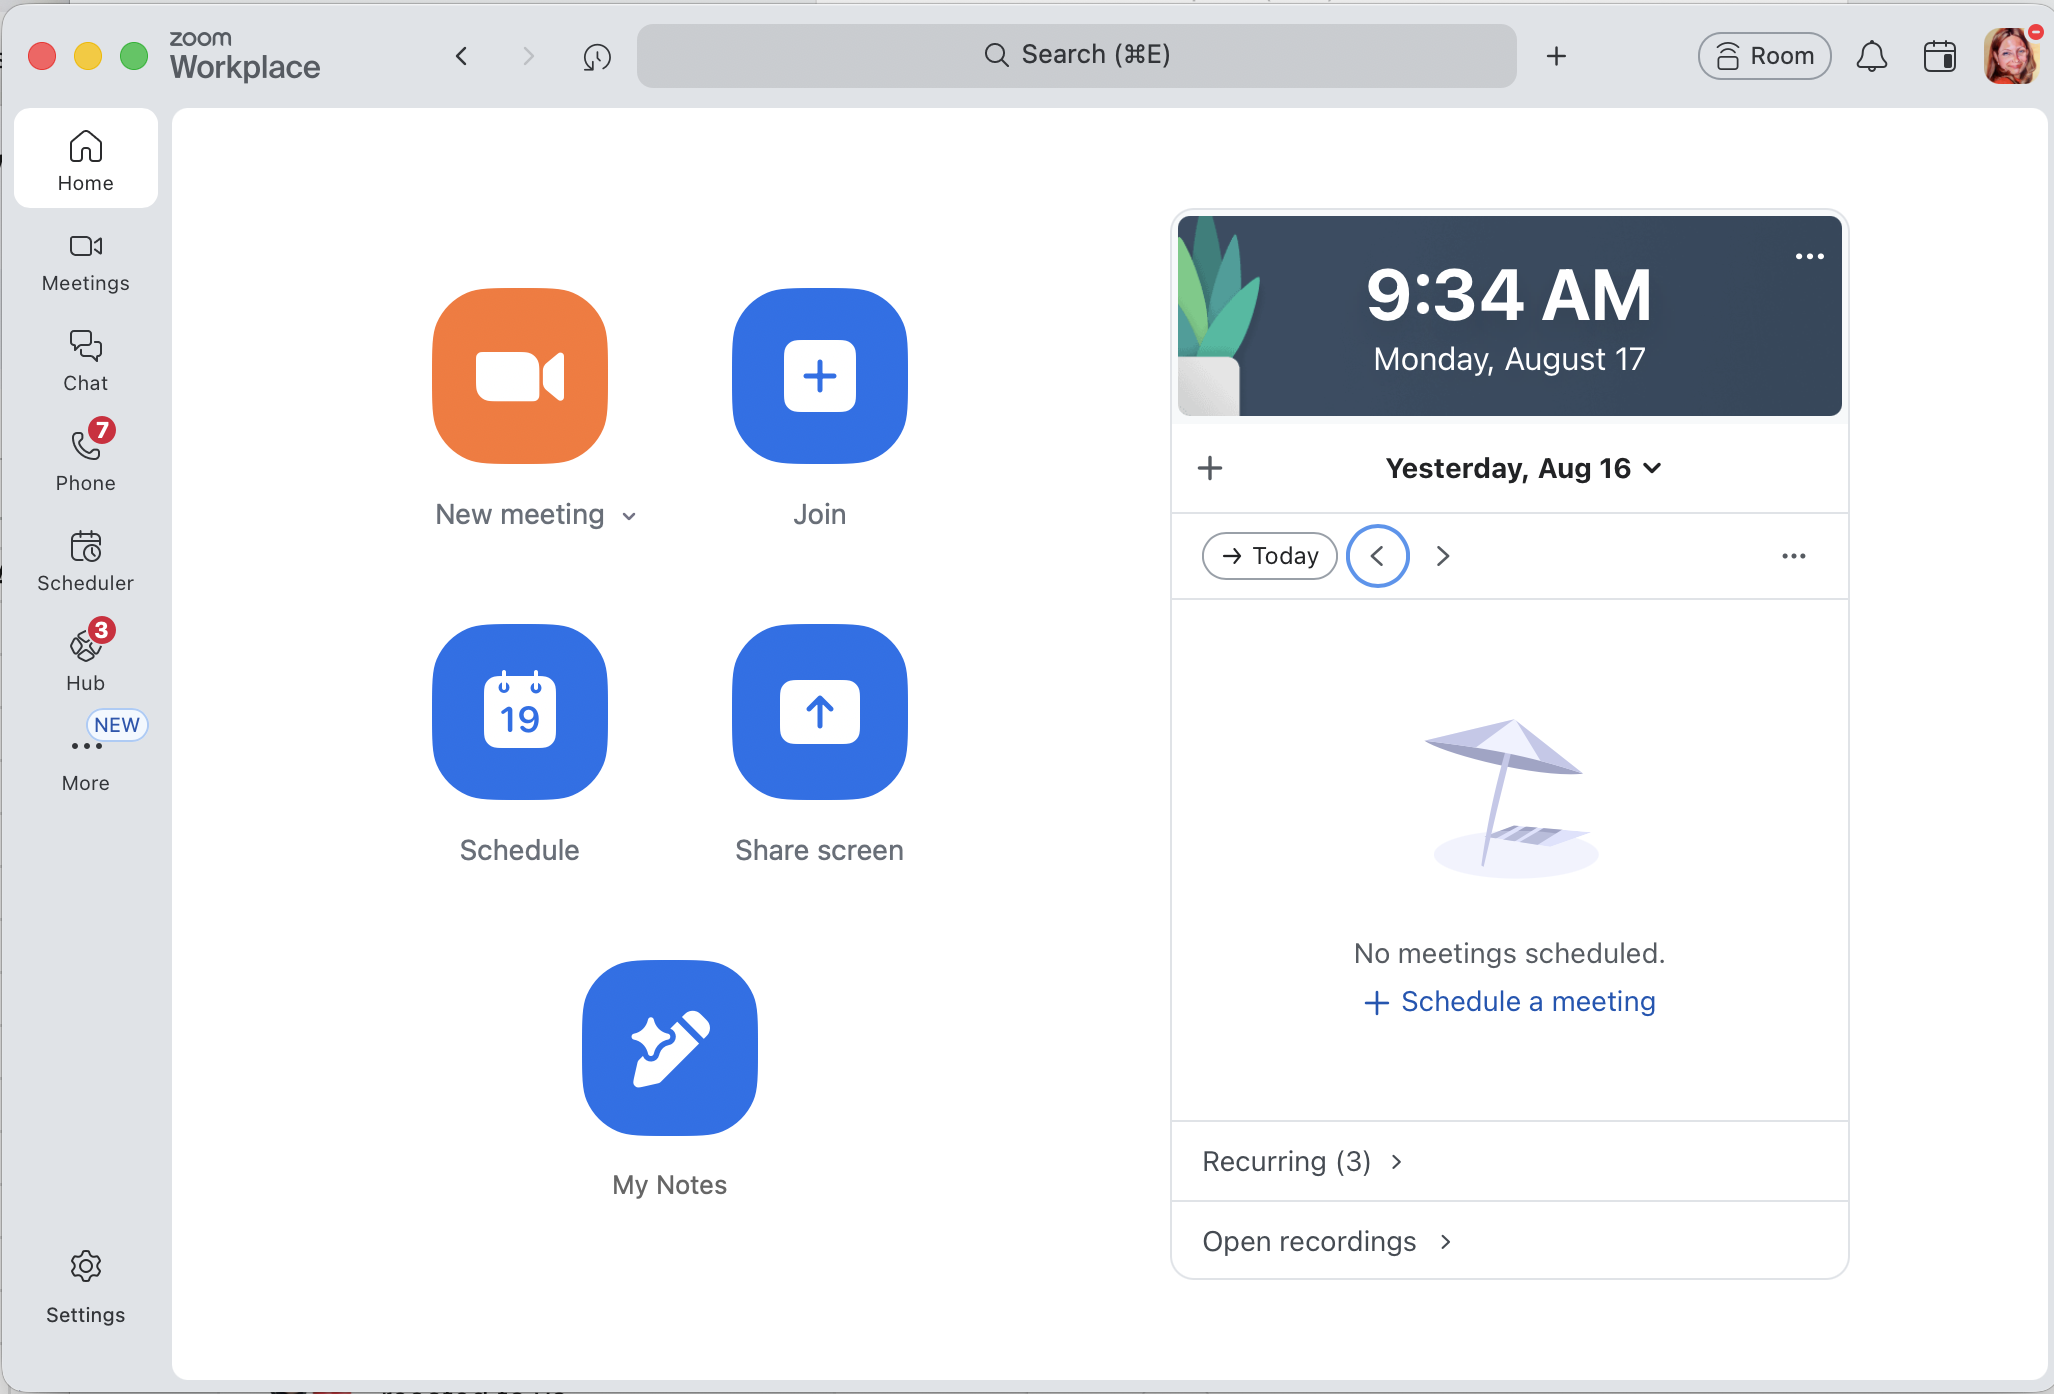
Start the meeting: In Zoom, click on New meeting to start a meeting. Zoom will open a new window with meeting controls.
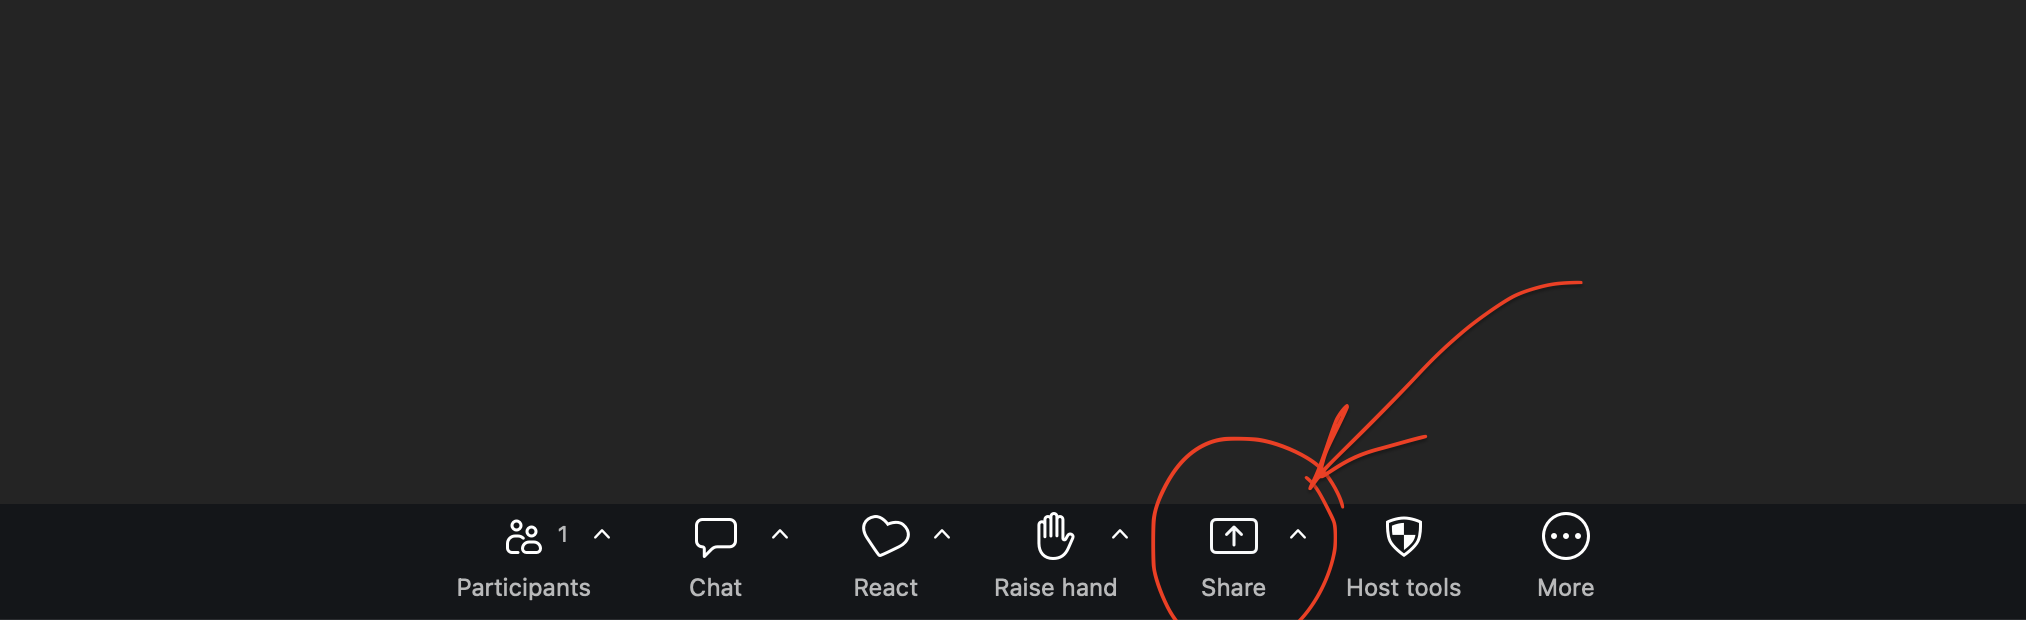
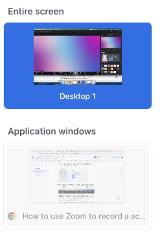
Start screen sharing: In the meeting controls, click on the “Share” button, and select the screen or application window you want to share for your presentation. You can choose to share your entire screen or just a specific application window.
Begin recording: With your screen shared, click on the “Record” button located at the bottom toolbar. If you can’t see it, it may be hidden in More Tools. A menu will appear with recording options. Choose “Record to this computer” to start recording the screencast on your local machine. The recording indicator will appear in the top left corner of the screen.

When sharing content of your screen, you can select the presenter layout. By default, it’s content only. We recommend using the default. You can also appear on the screen at the beginning or end of your recording by ending screensharing. Make sure your camera is on.
-
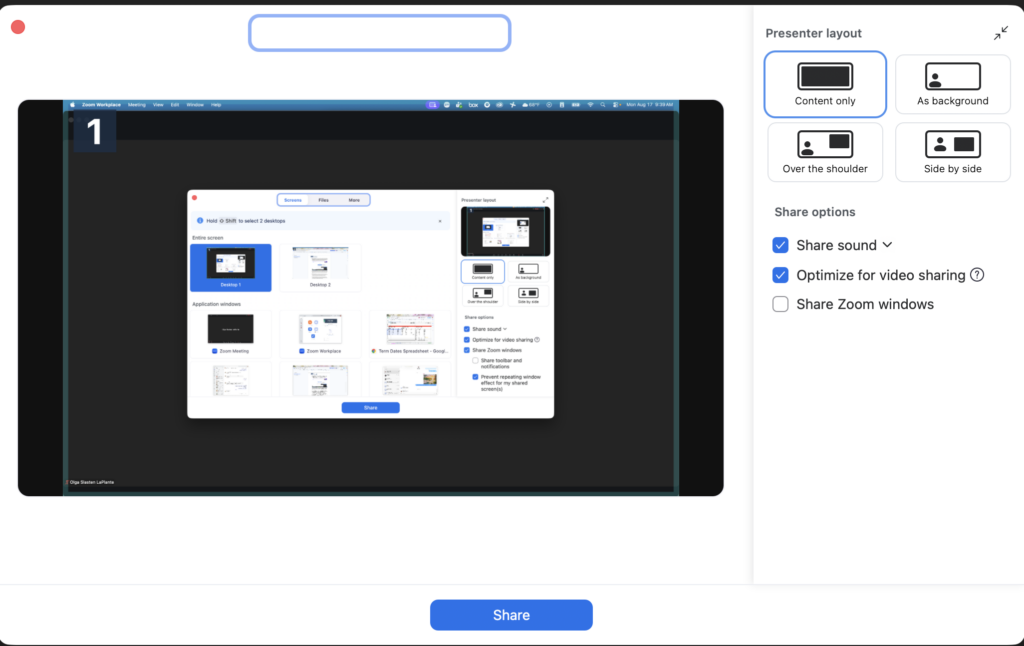
- Content Only
-
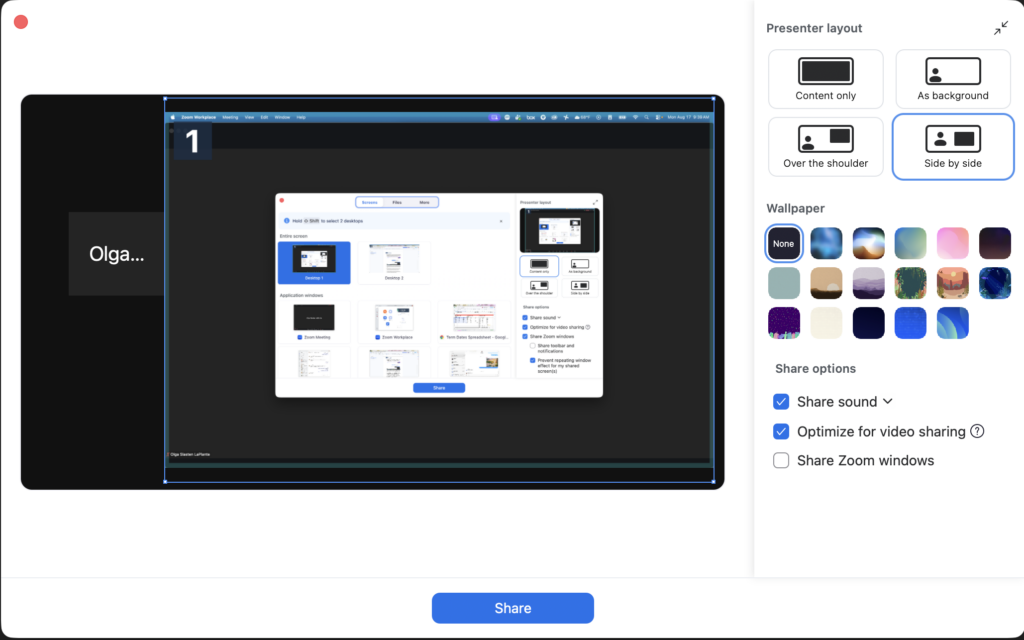
- Content and camera, side by side, can be adjusted
Present your content: Begin your presentation by navigating through the content on your screen. You can use slides, documents, or any other visual aids as needed, including in full screen. While presenting, ensure your voice is clear and audible for the best recording quality.
End the recording: Once you’ve finished your presentation, click on the “Stop Share” button to end the screen sharing – this will switch to your camera. Then, click on the “End Meeting” button to conclude the Zoom meeting. Zoom will automatically convert and save the recording to your local computer (or the cloud, based on your choice). To skip the camera view, choose to end recording before turning off screen sharing.
Retrieve the recording file: After ending the meeting, Zoom will generate the recording file. By default, Zoom saves recordings in the “Documents” folder on your computer. Look for a folder named “Zoom” or “Zoom Recordings,” and locate your presentation recording file (it should be an mp4 file).
Use Video Note to insert/embed your video in an announcement or feedback. If you are only recording your camera, you can use Video Note directly and skip using Zoom.
Present and record your presentation with ScreenPal
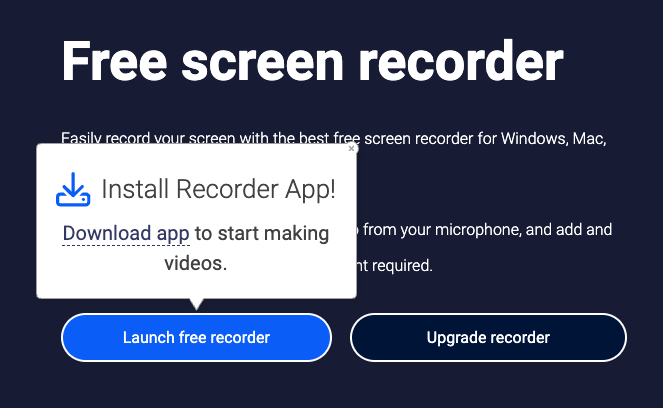
The application we suggest using is the free version of ScreenPal. Click here to go directly to the download page for ScreenPal. Then, click Launch free recorder and follow the directions to install it.
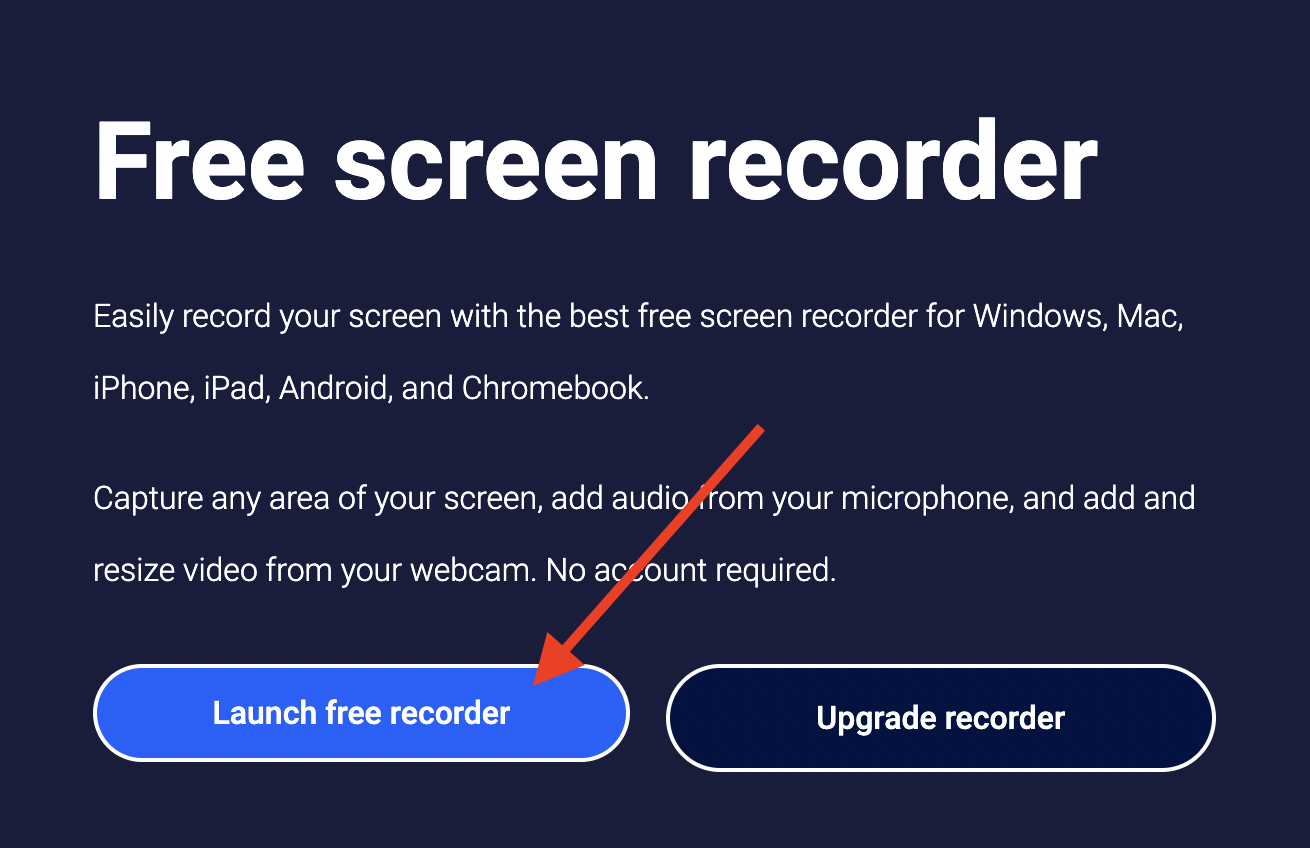
Install the free version of ScreenPal on your computer. Follow the prompts for installation and for giving ScreenPal permission to record your screen.
Recording with ScreenPal
Once you have installed ScreenPal, select whether you’d like to record your screen, your camera, or both, then click the red record button.
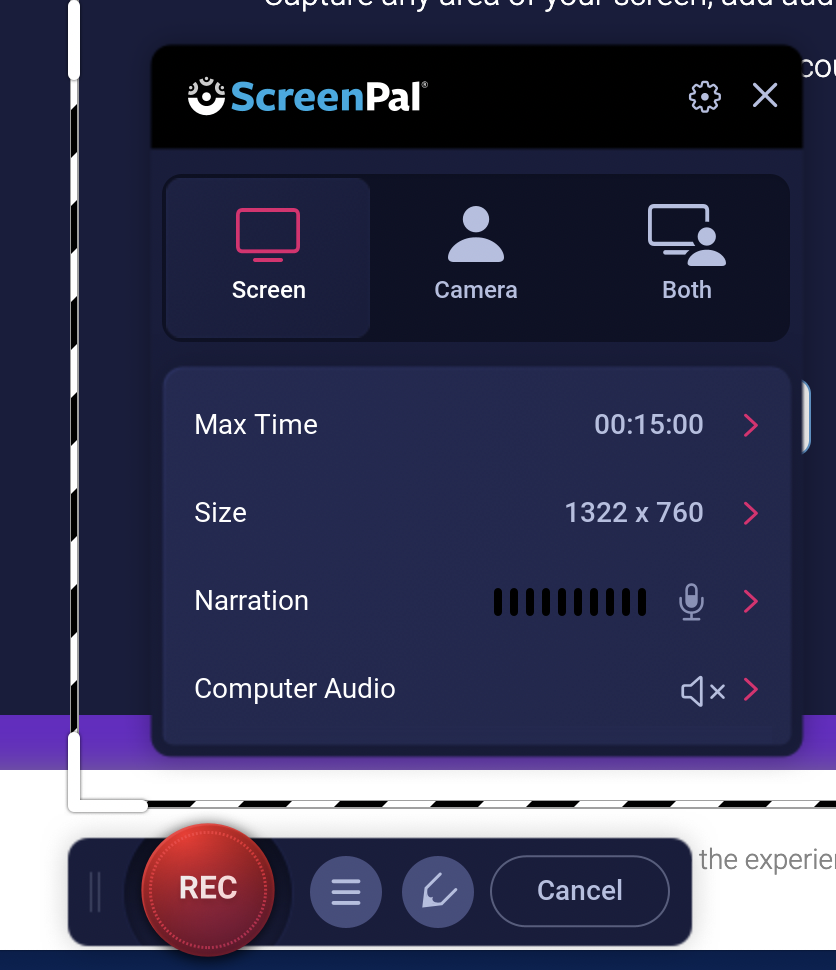
A perforated box will appear that indicates the window that will be recorded when you hit record. Before clicking the record button, resize the box to the dimensions that work best for your presentation software and your screen.
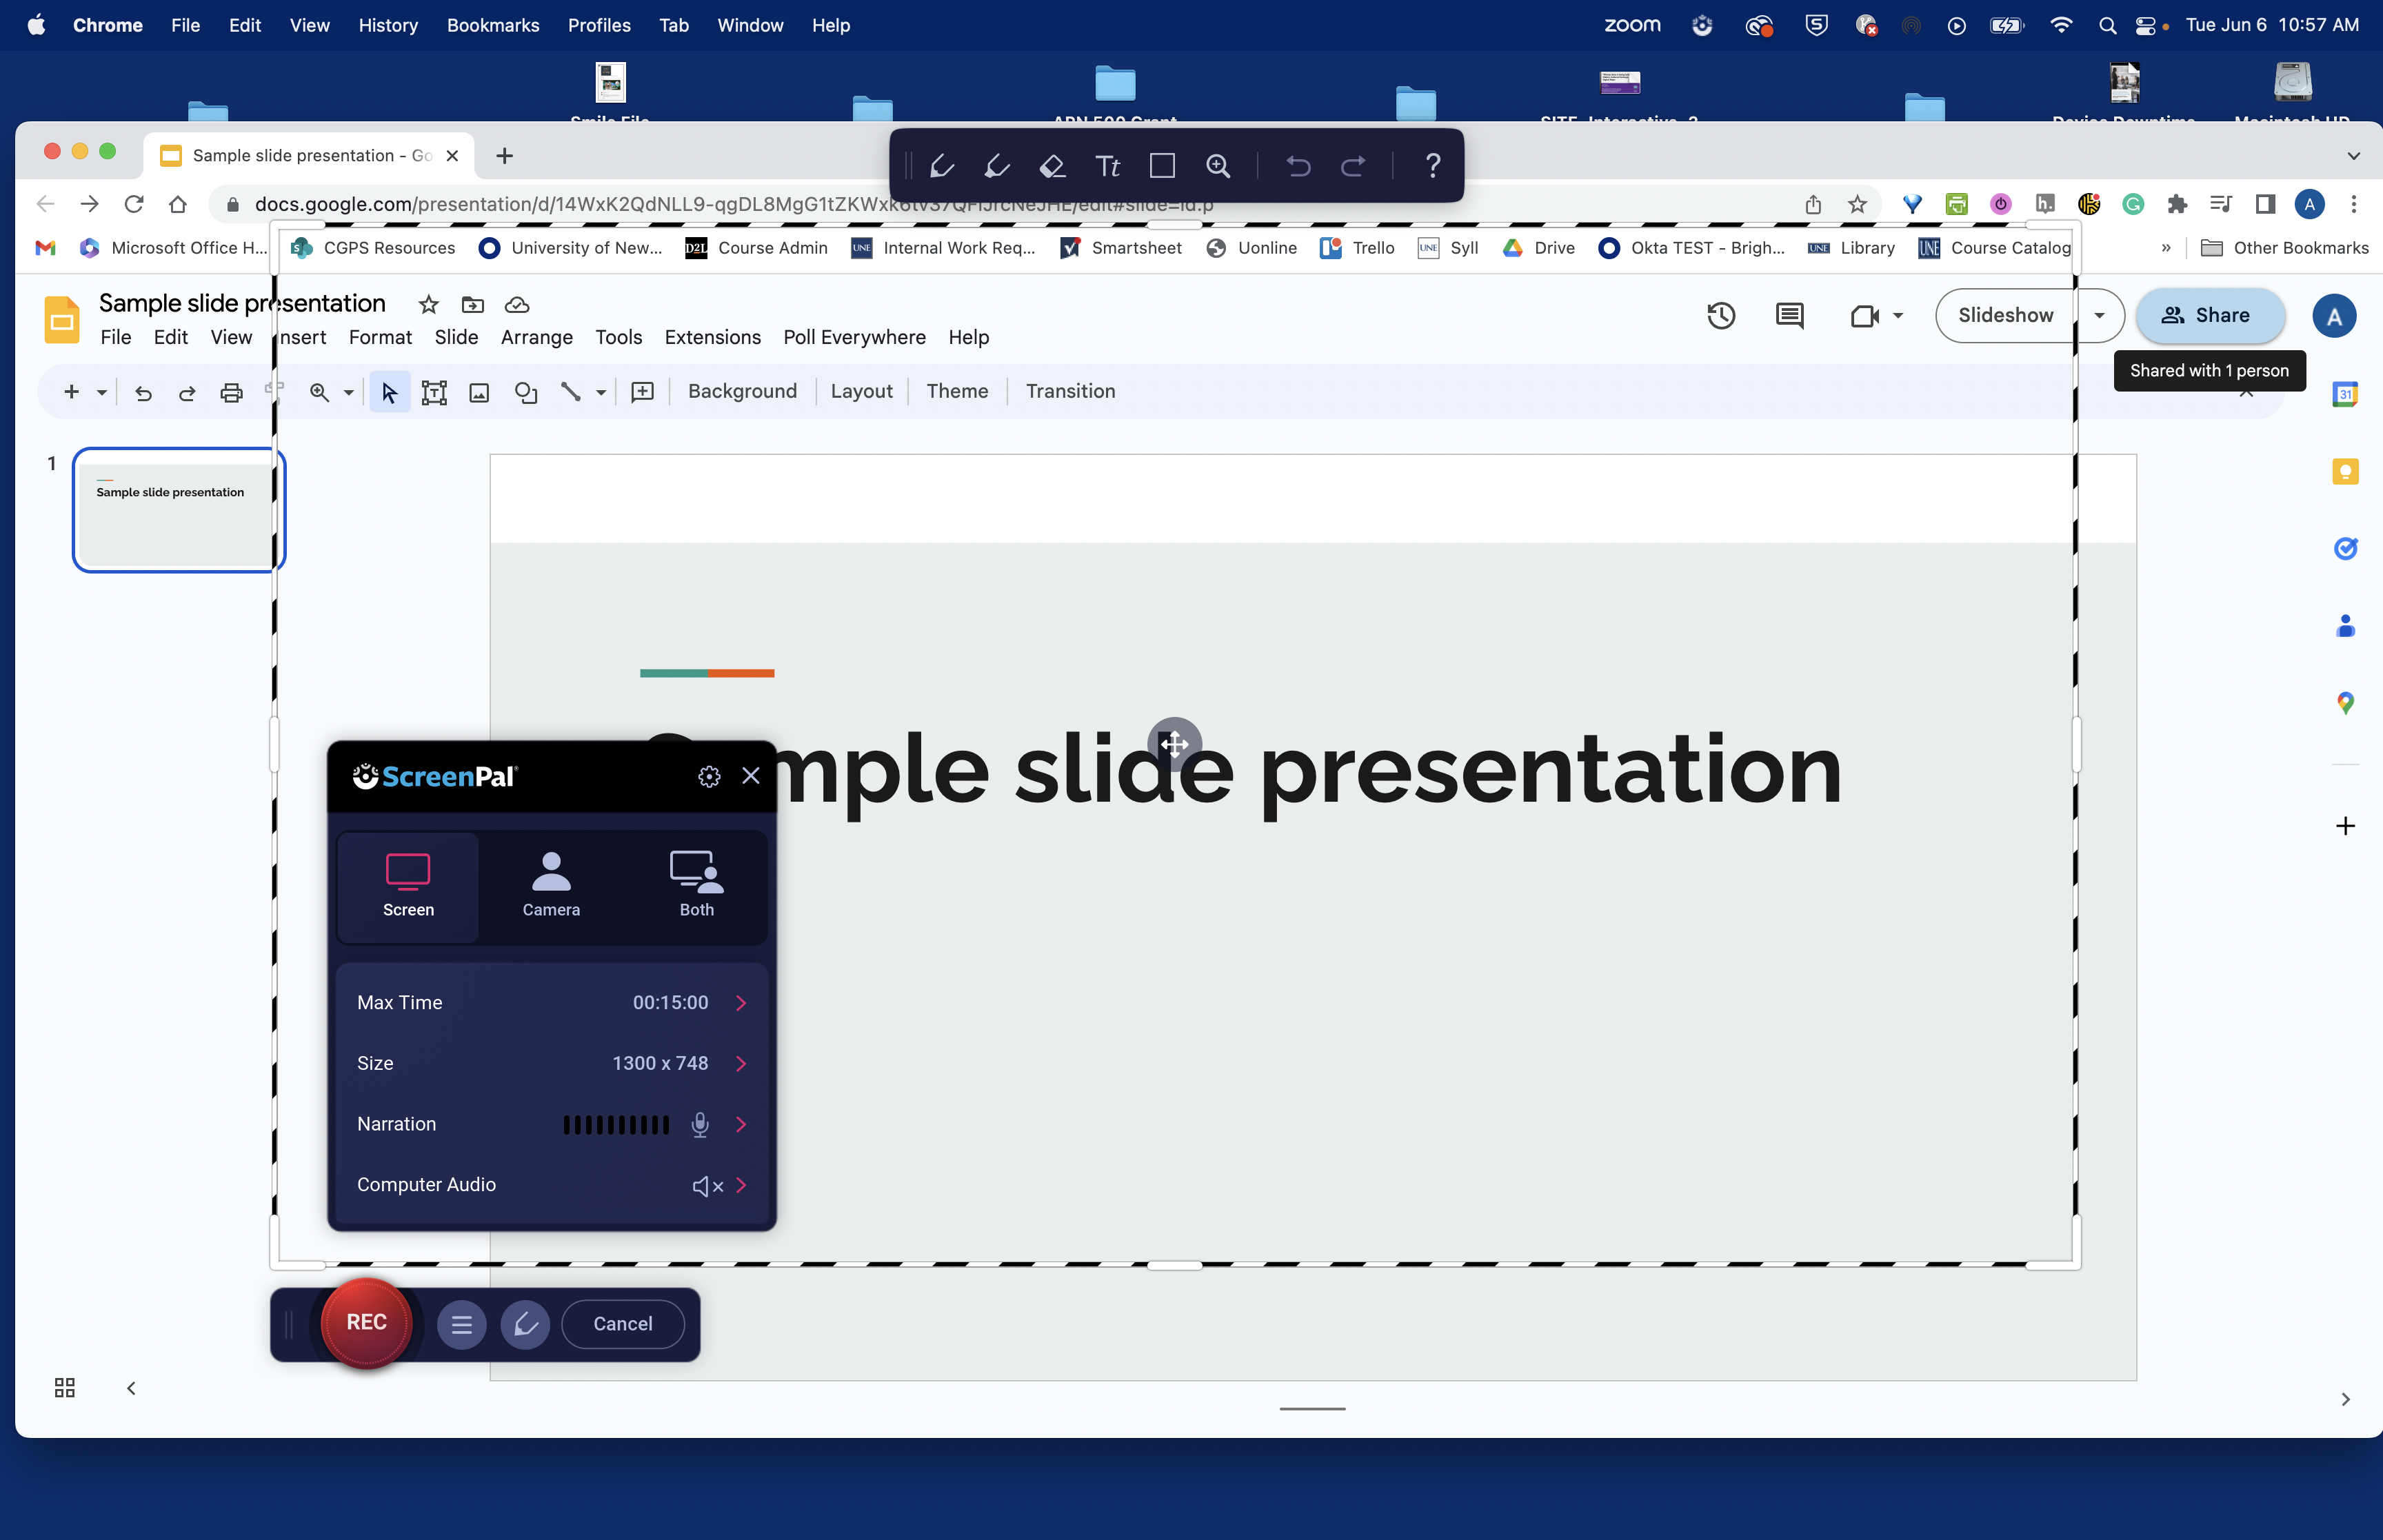
Choose whether you want to record your screen, your webcam, or both simultaneously.
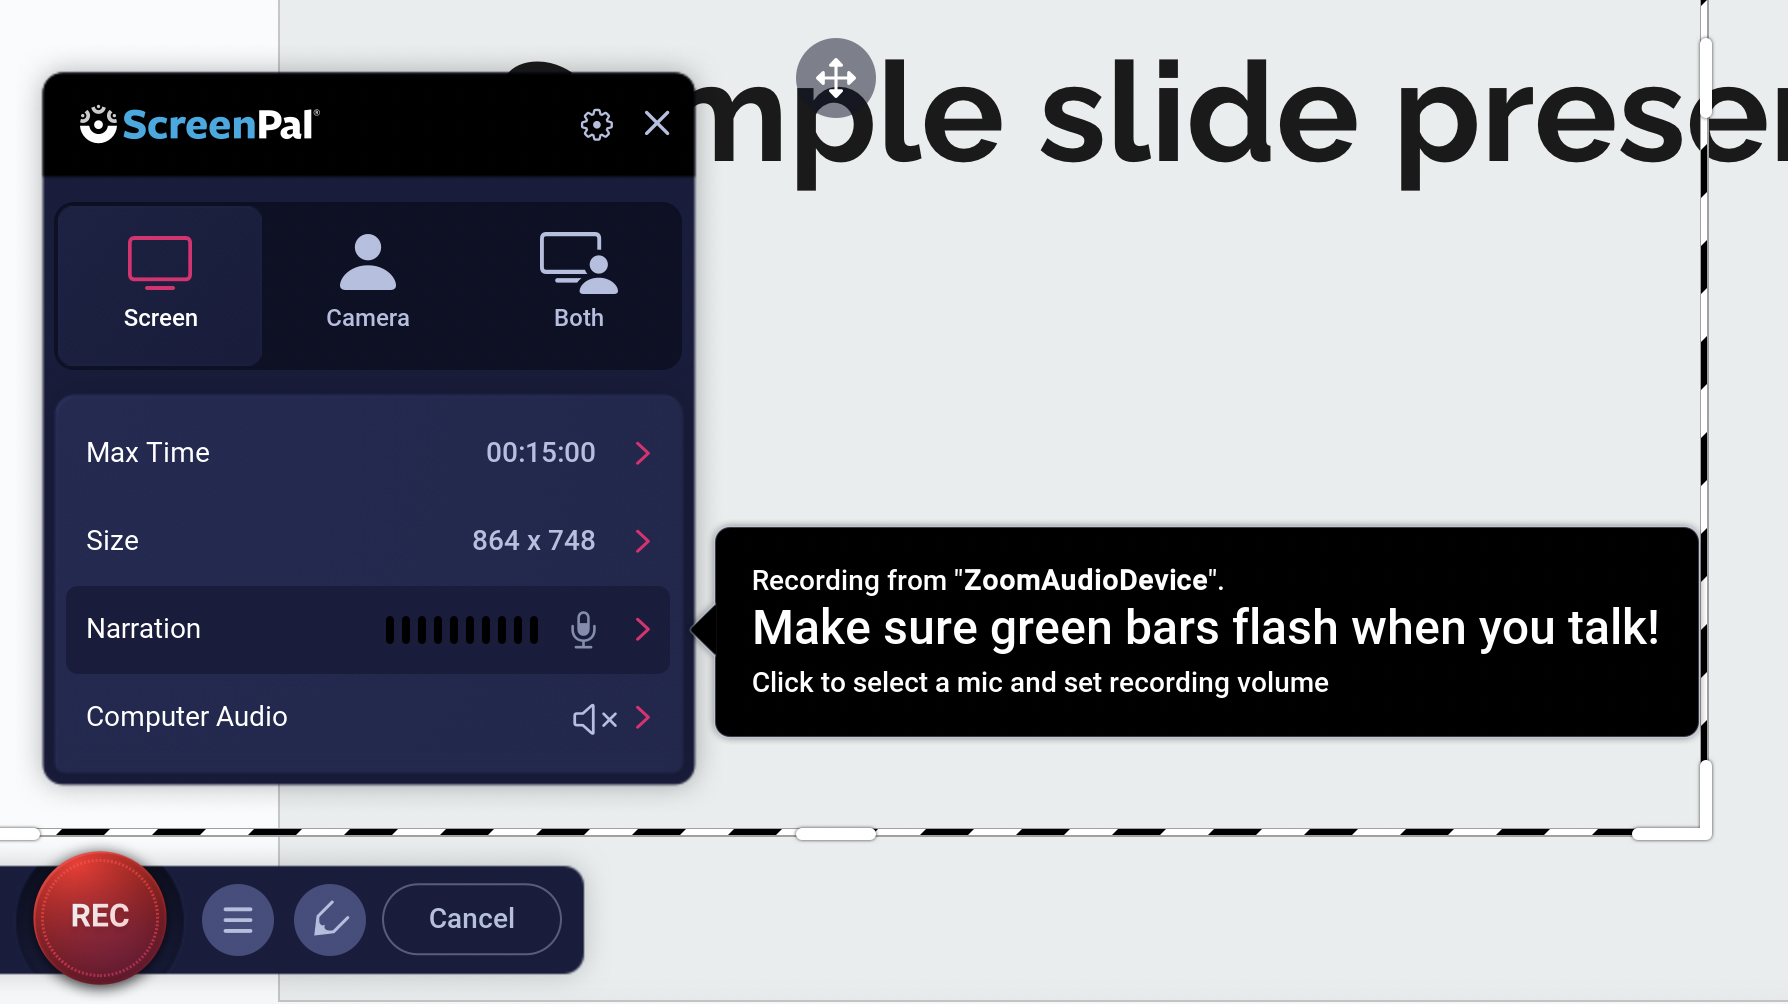
Also, make sure that the correct microphone is selected; this will be indicated by volume indicator vertical bars flashing when you speak. If the bars aren’t appearing, then click the arrow next to the microphone icon to try selecting a different microphone.
Saving your ScreenPal Recording
Be aware that ScreenPal’s free app limits you to fifteen minutes of recording time.
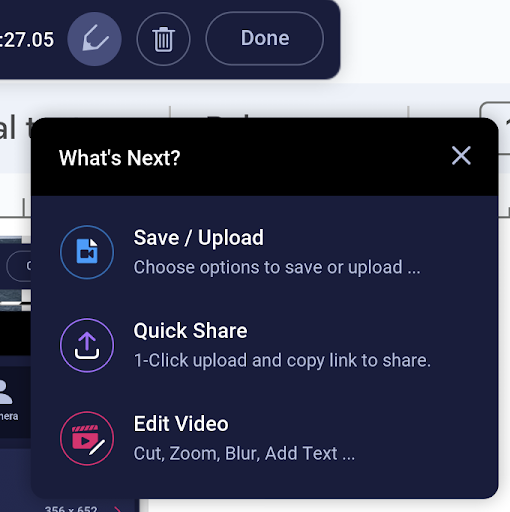
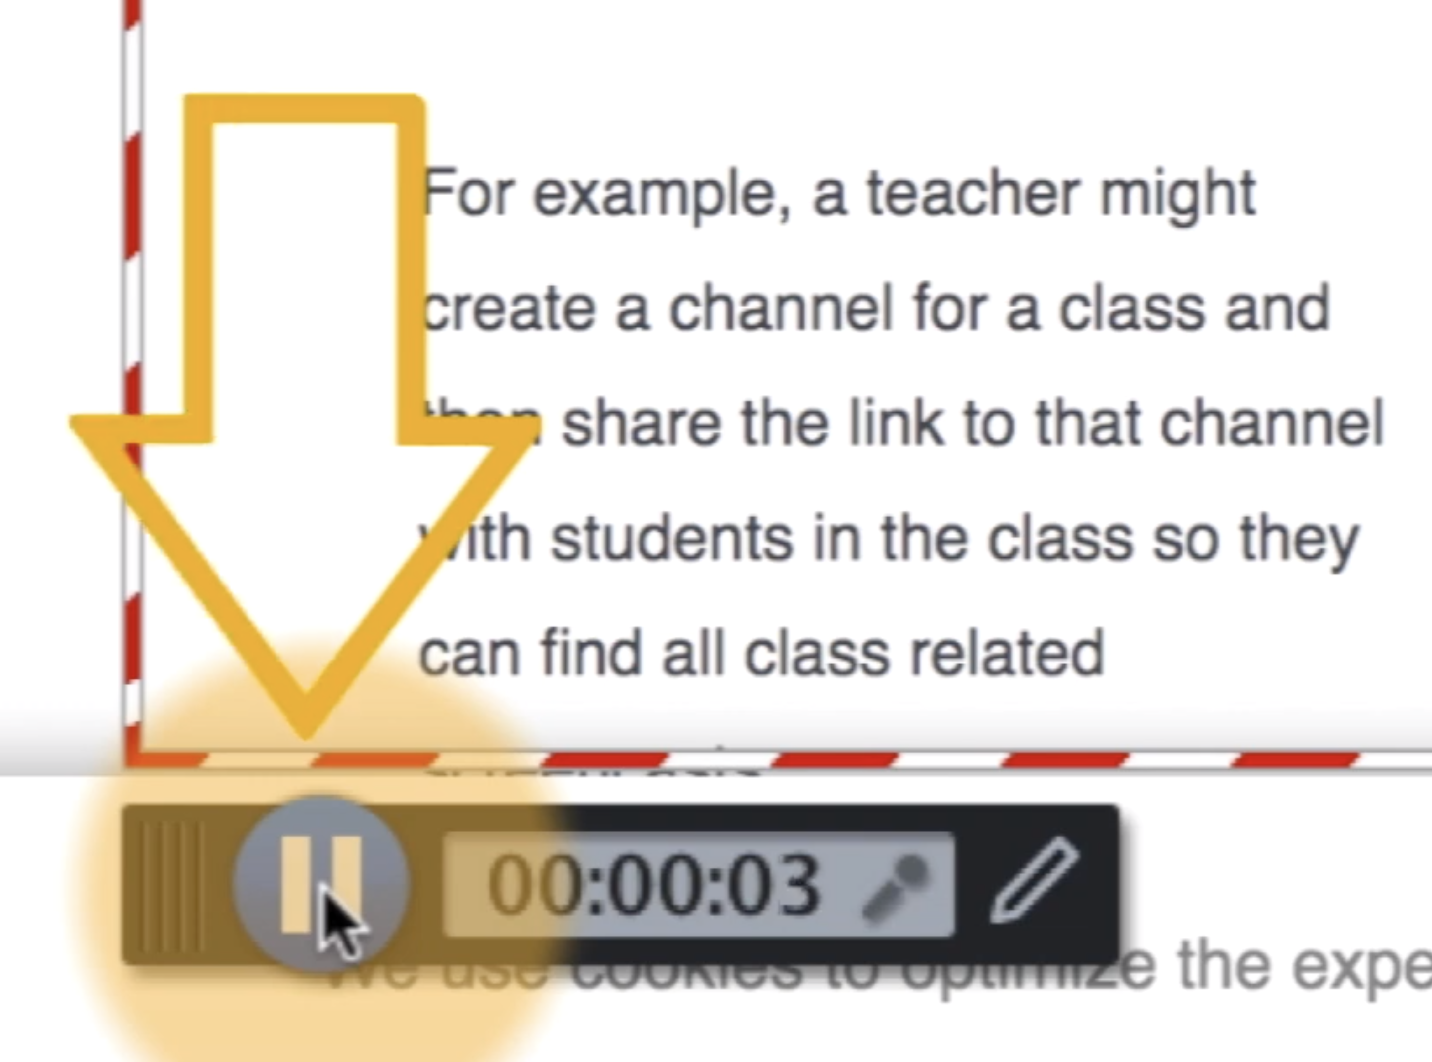
To stop the recording click to pause and then click “Done”.
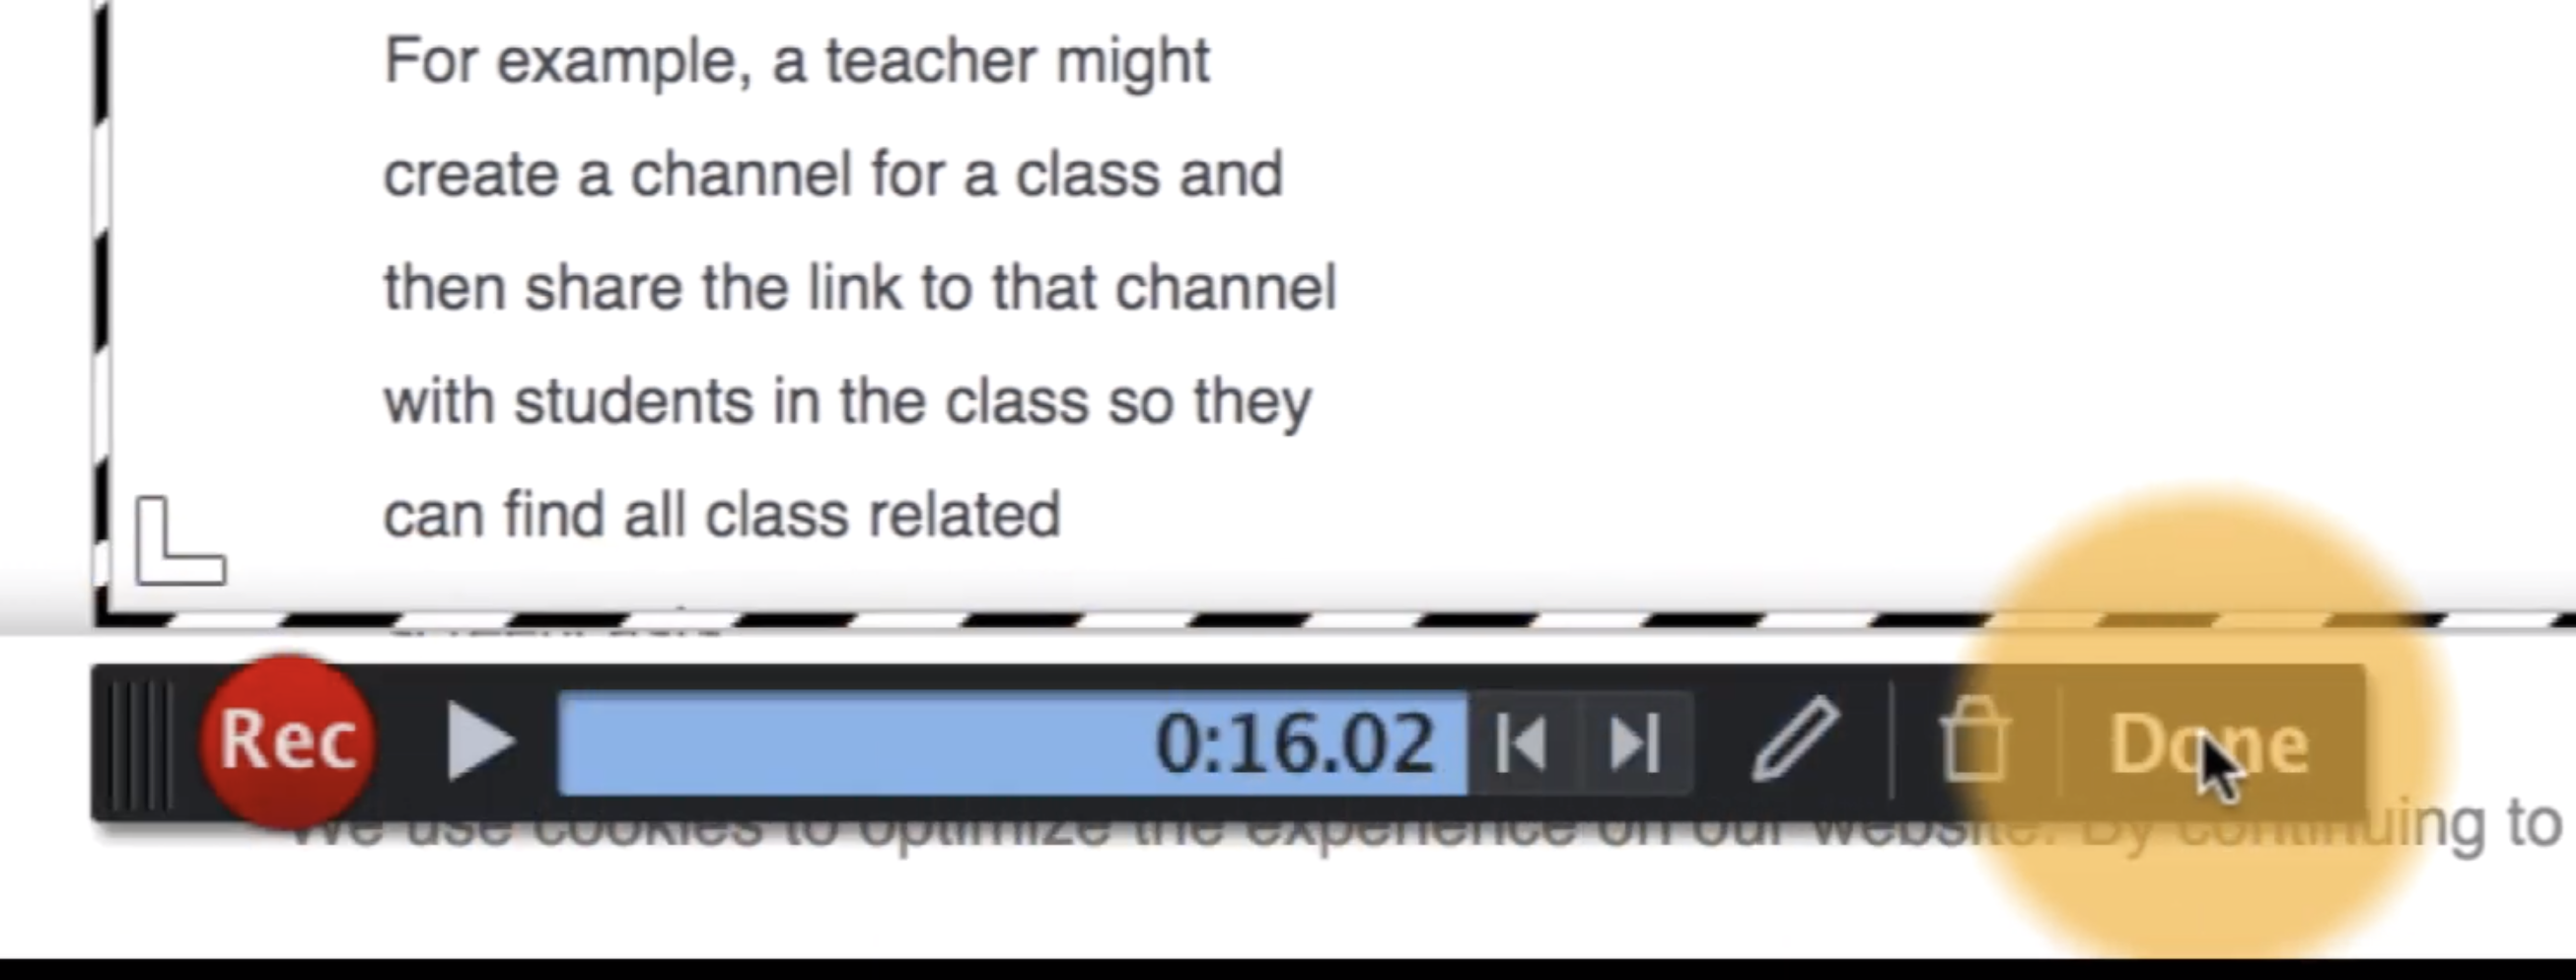
You will be prompted to make a choice about what you’d like to do with the video: You should choose “Save as Video File.” This will save the file to your computer, which you can then upload and share.